

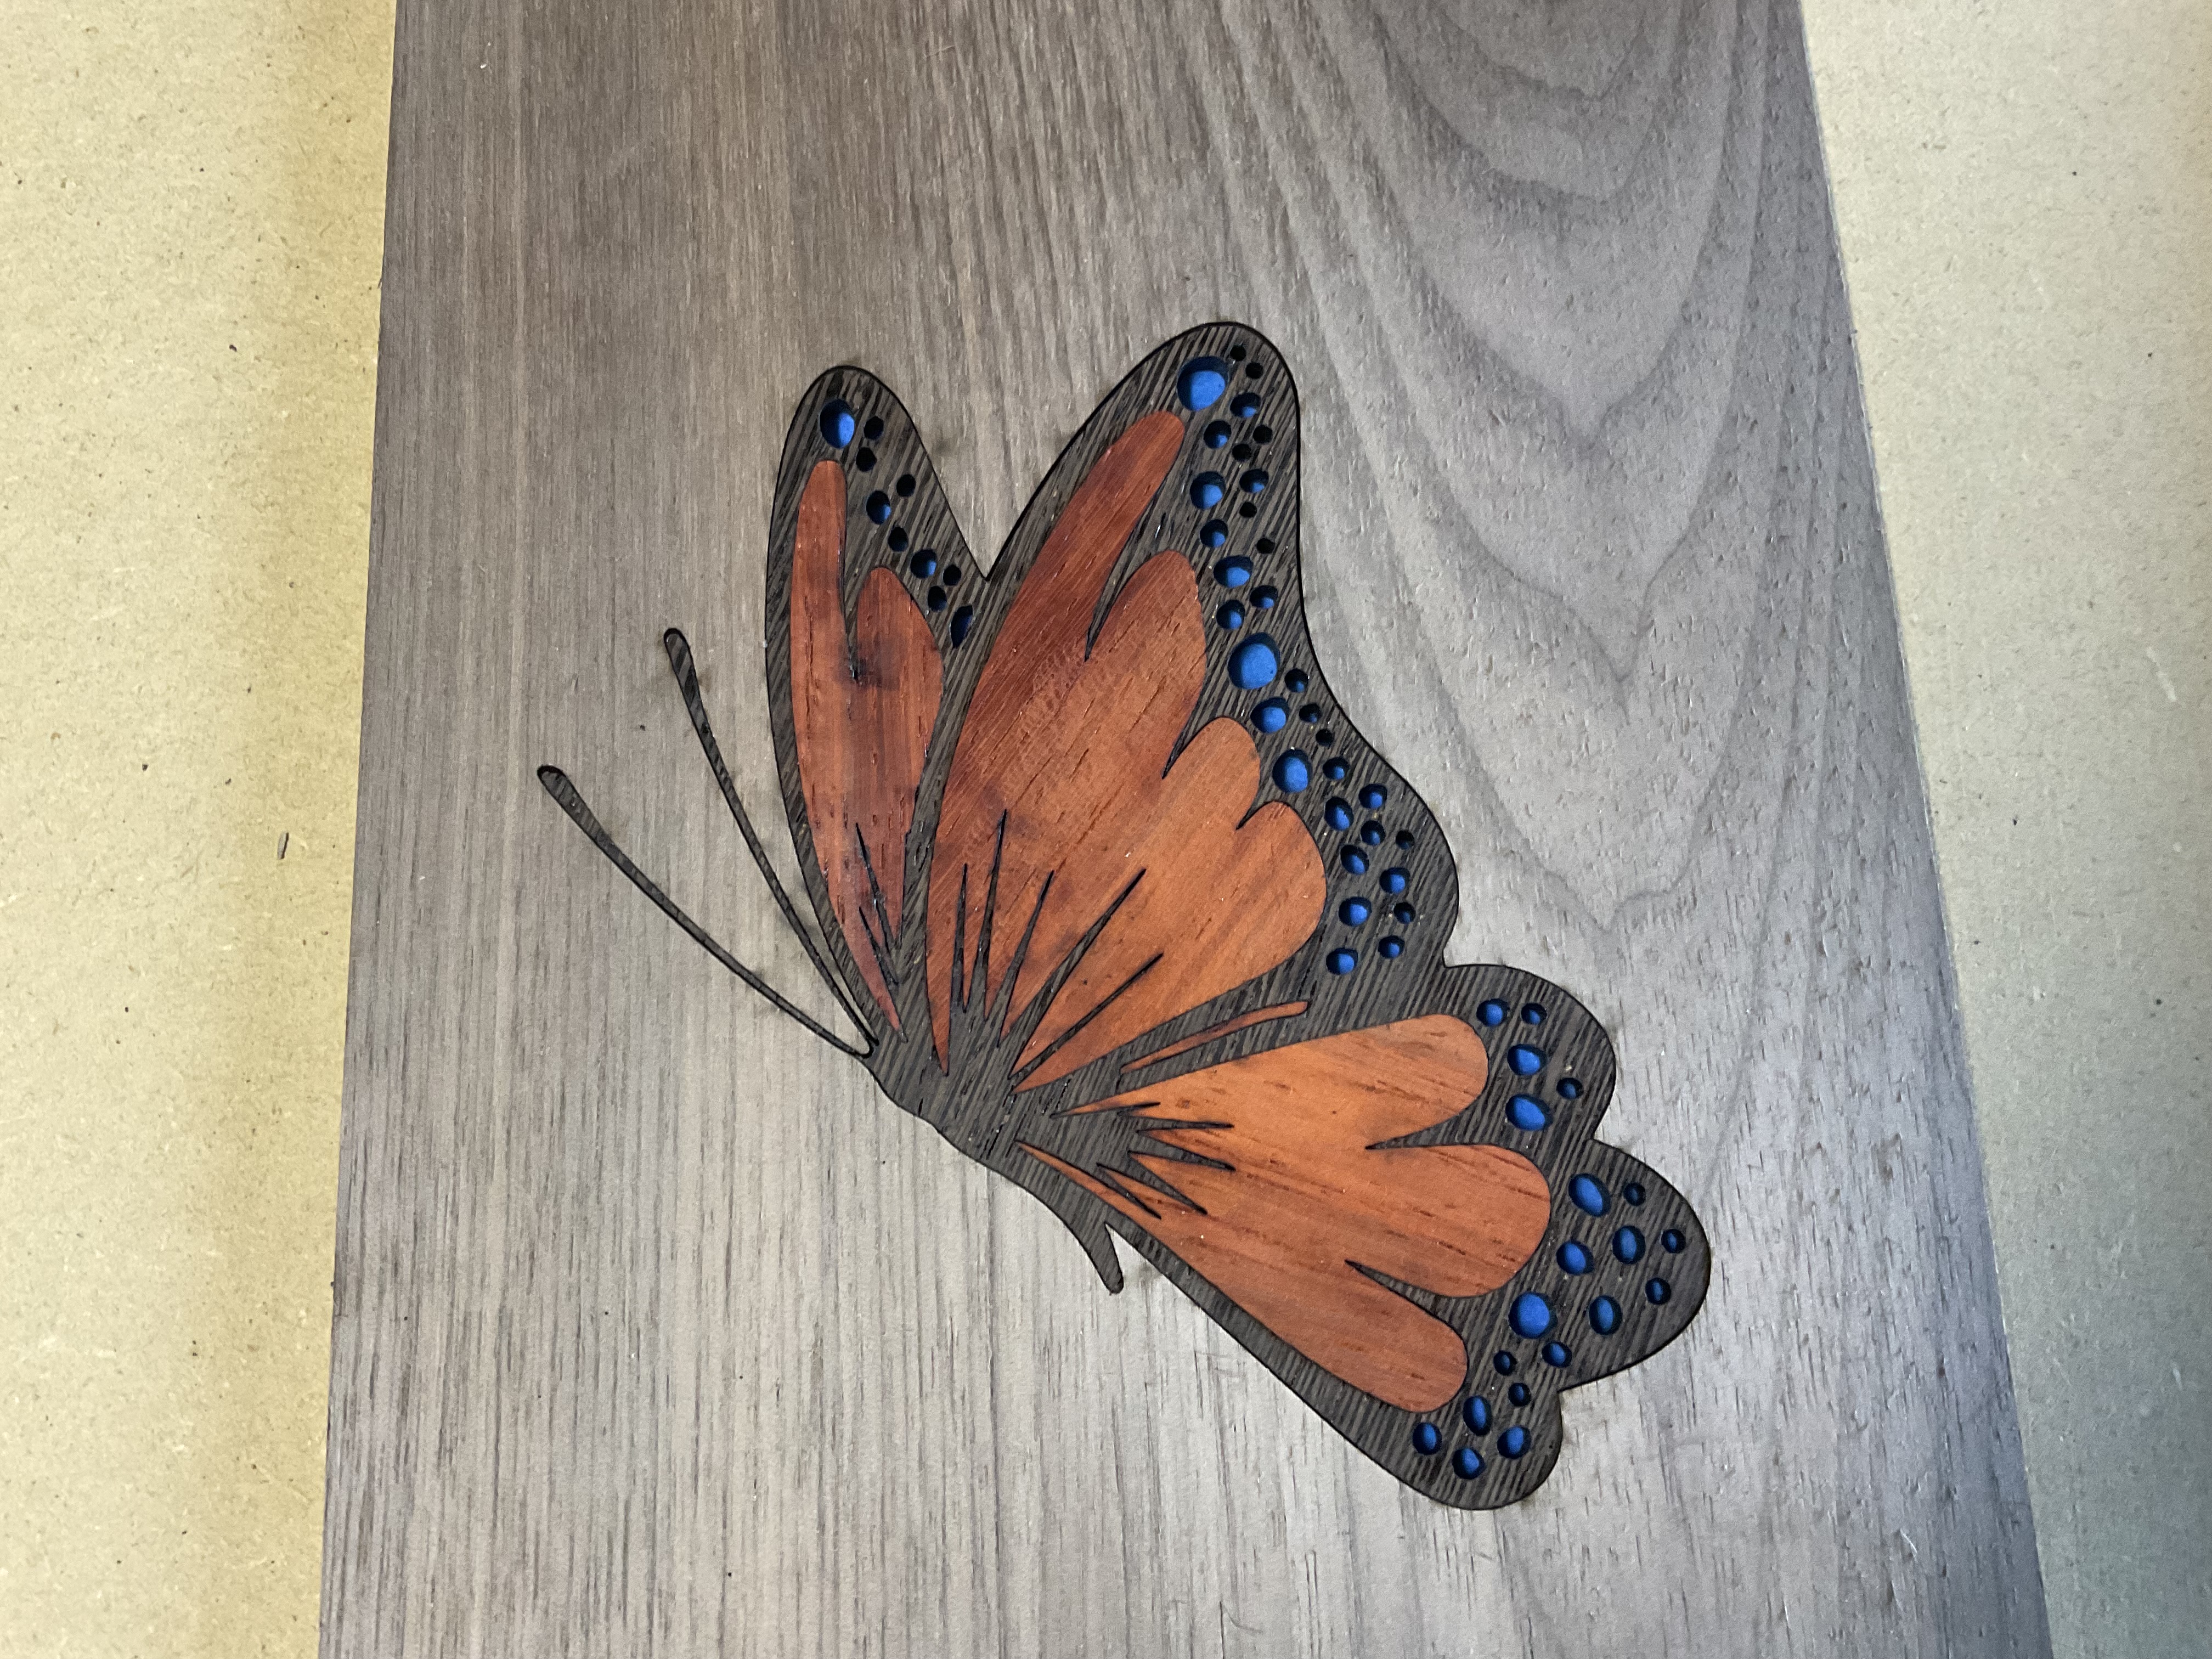
There are several ways to make wood inlays with a laser. For this version, the laser cuts the full butterfly outline in the walnut top, then cuts individual pieces from contrasting woods. The pieces fit into the outline like a puzzle and the whole inlay is glued to a walnut backer board.
The key trick is compensating for the laser kerf. In LightBurn, the offset tool enlarges the insert pieces by tiny amounts so the finished fit is snug instead of loose.
Step 1
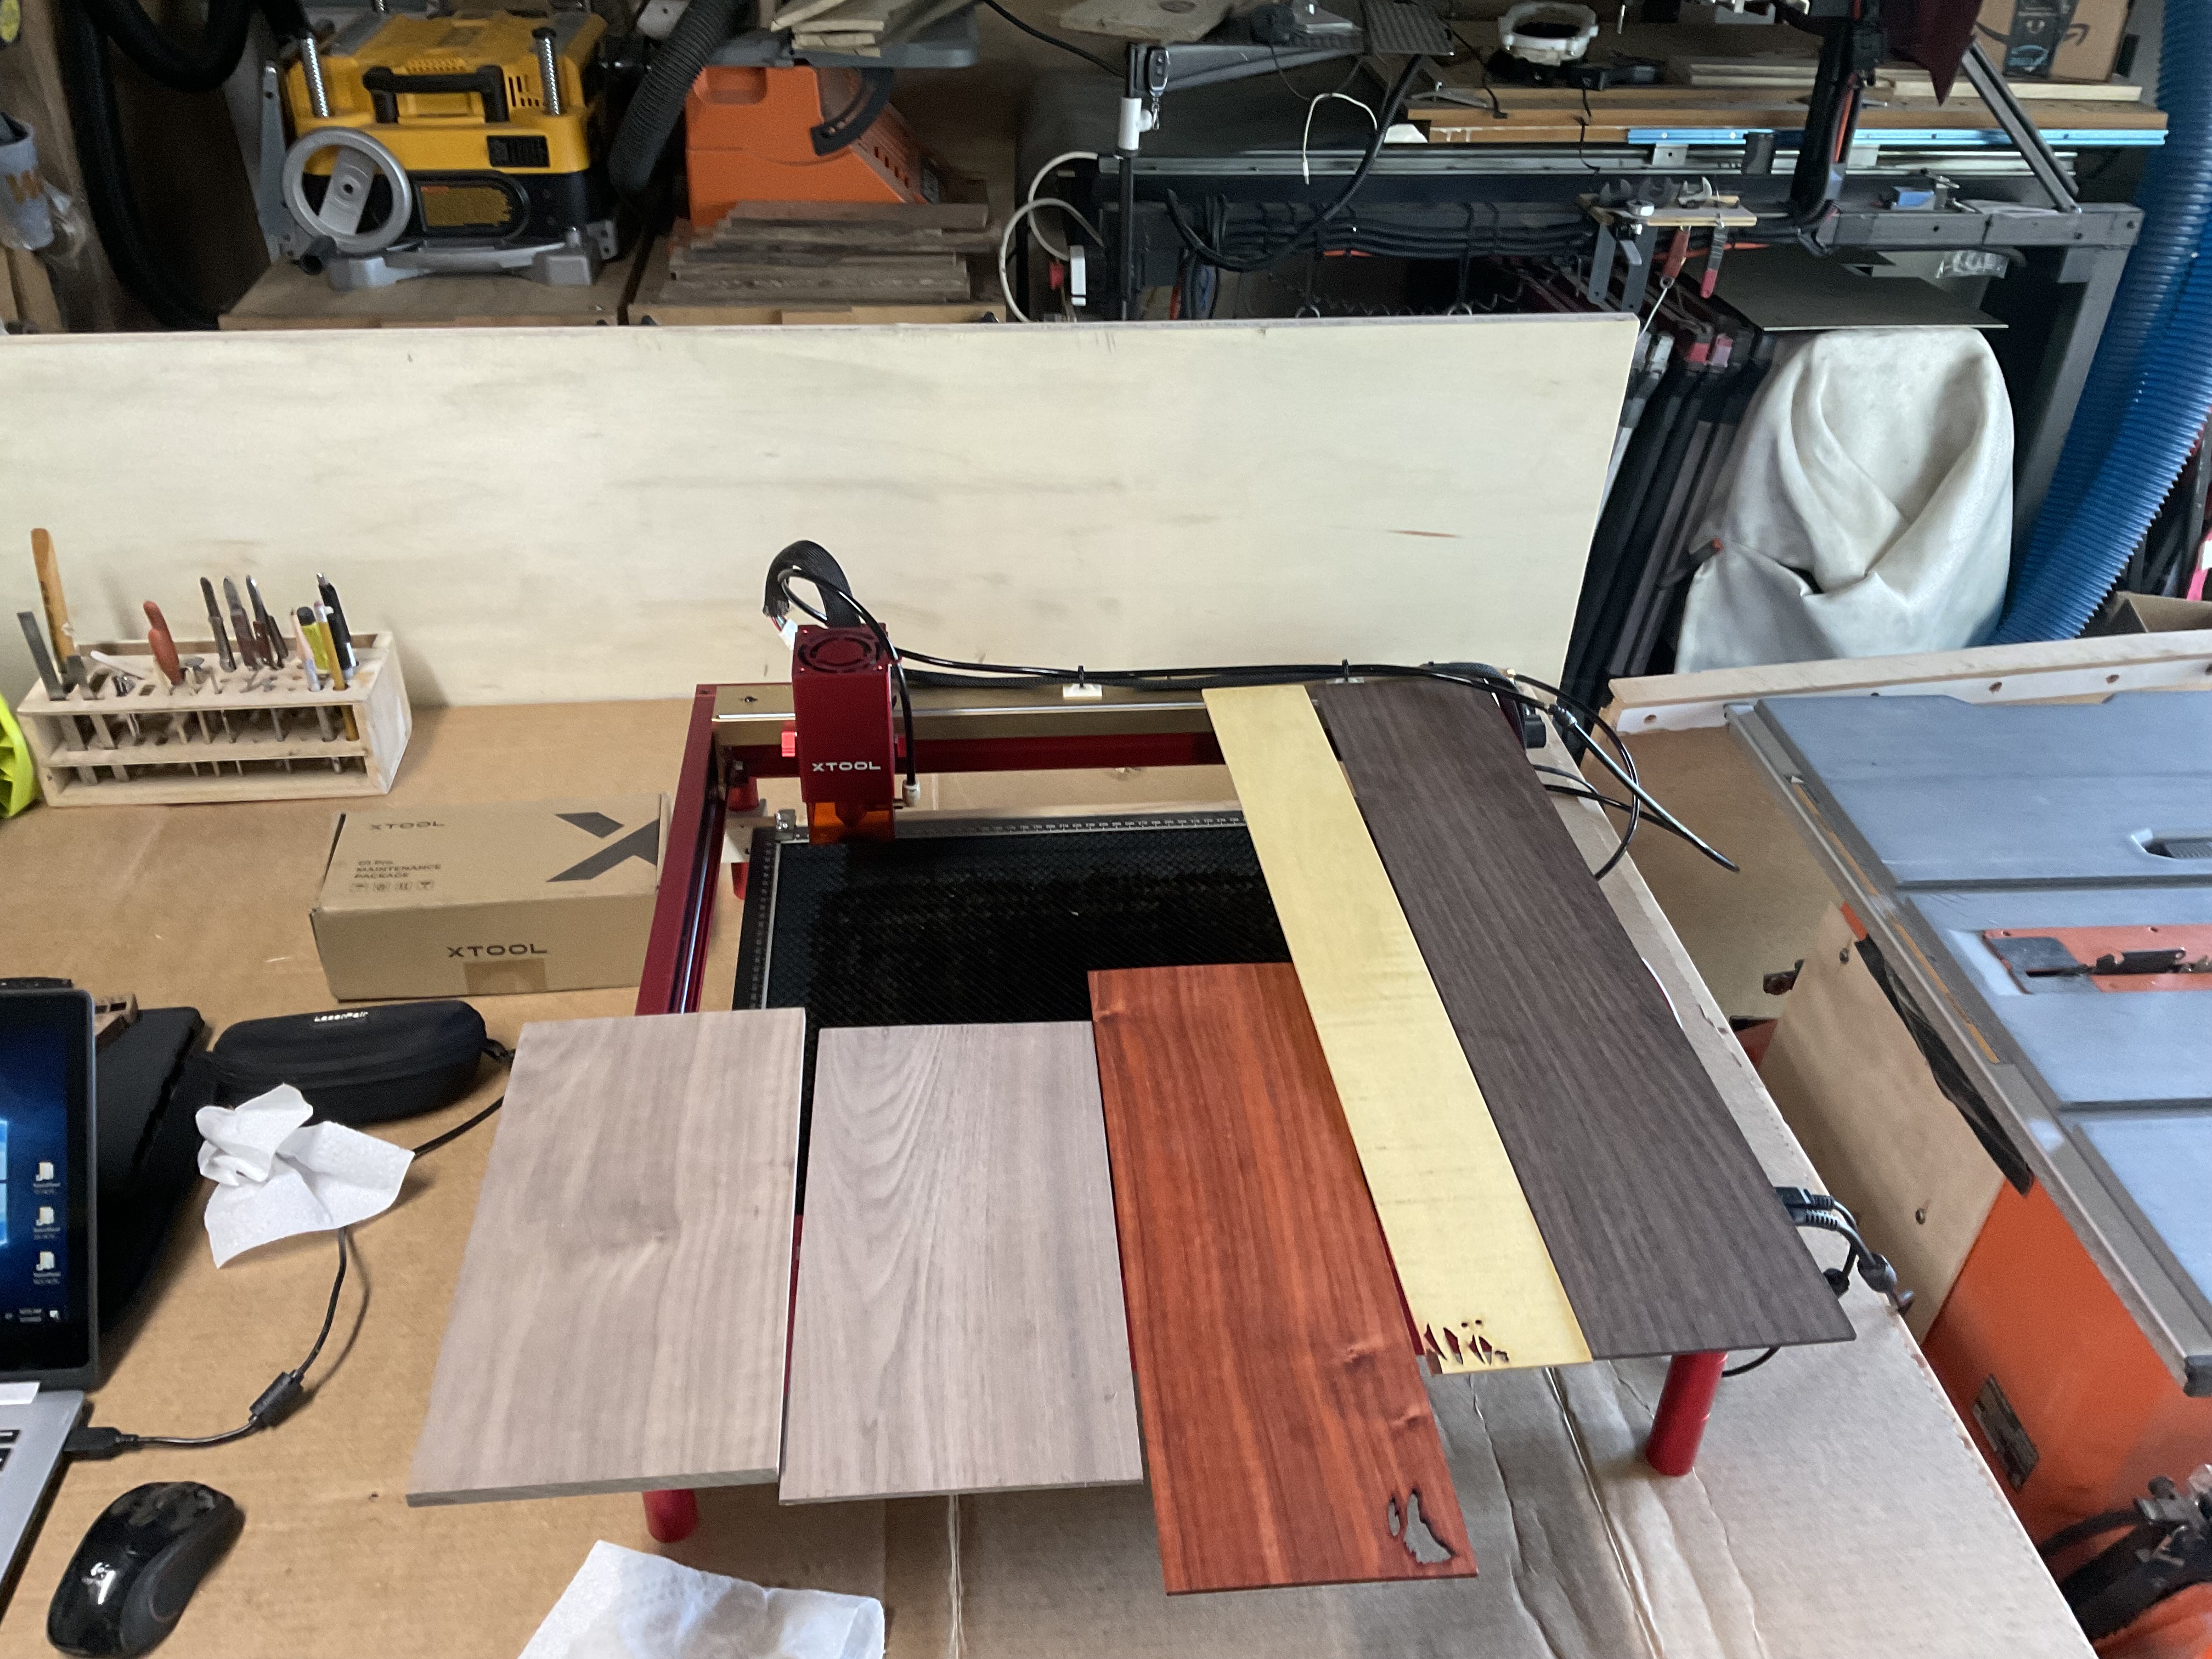
Select the wood
Choose a dark base wood and several contrasting species for the design. This butterfly uses black walnut for the outline and backer, wenge for the body, padauk for the warm red pieces, and yellow heart for the dots.
Step 2
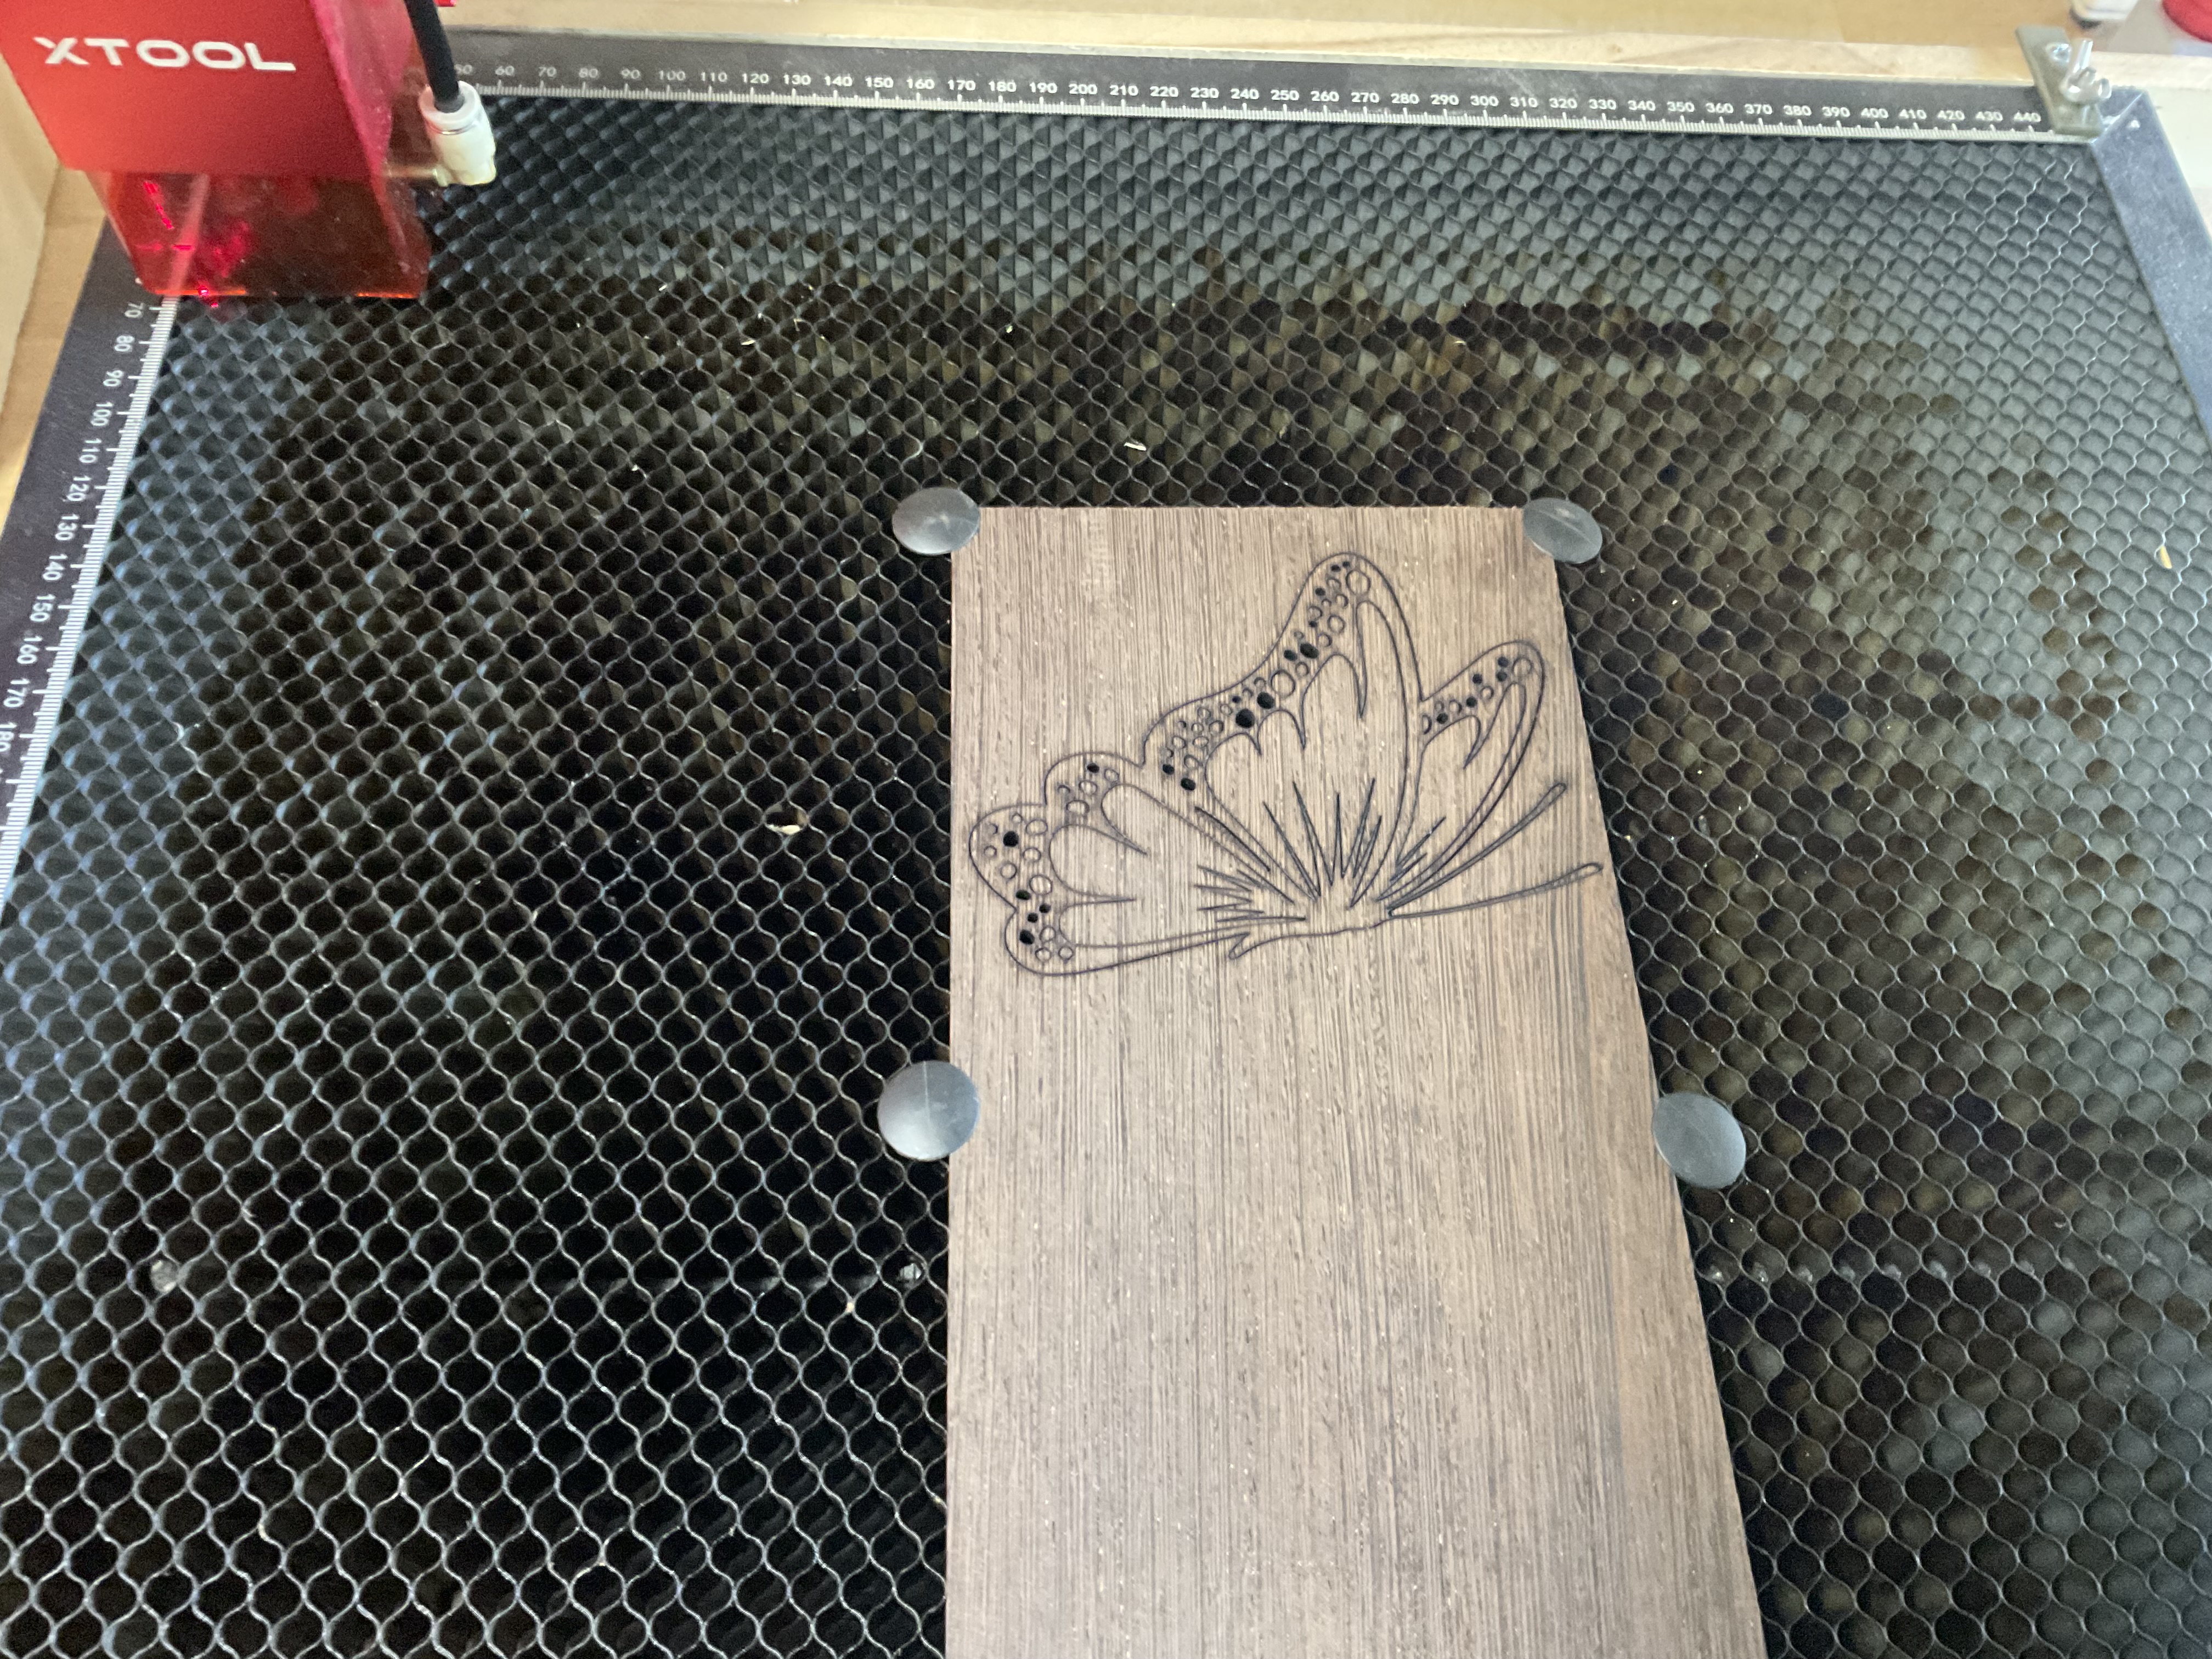
Prepare the cut file and cut the outline
Build or import the butterfly artwork as closed vector shapes. Cut only the outside butterfly outline from the 1/8 inch walnut, then cover the top face with blue painter's tape. The inlay pieces are installed from the back, and the tape holds the small parts in place until glue-up.
Step 3
Cut the wenge body
Rotate the butterfly body in LightBurn so the grain direction looks natural. Before cutting, use Offset Shapes to enlarge the body by about 0.09 mm. This accounts for the width of the laser beam and helps the part lock into the walnut outline.
Step 4
Cut the padauk and yellow heart details
Group similar parts together so you do not waste expensive wood. The padauk pieces use an offset around 0.07 mm, while the small yellow heart dots use about 0.08 mm. Place sacrificial wood under tiny parts so they do not fall through the honeycomb grid.
Step 5
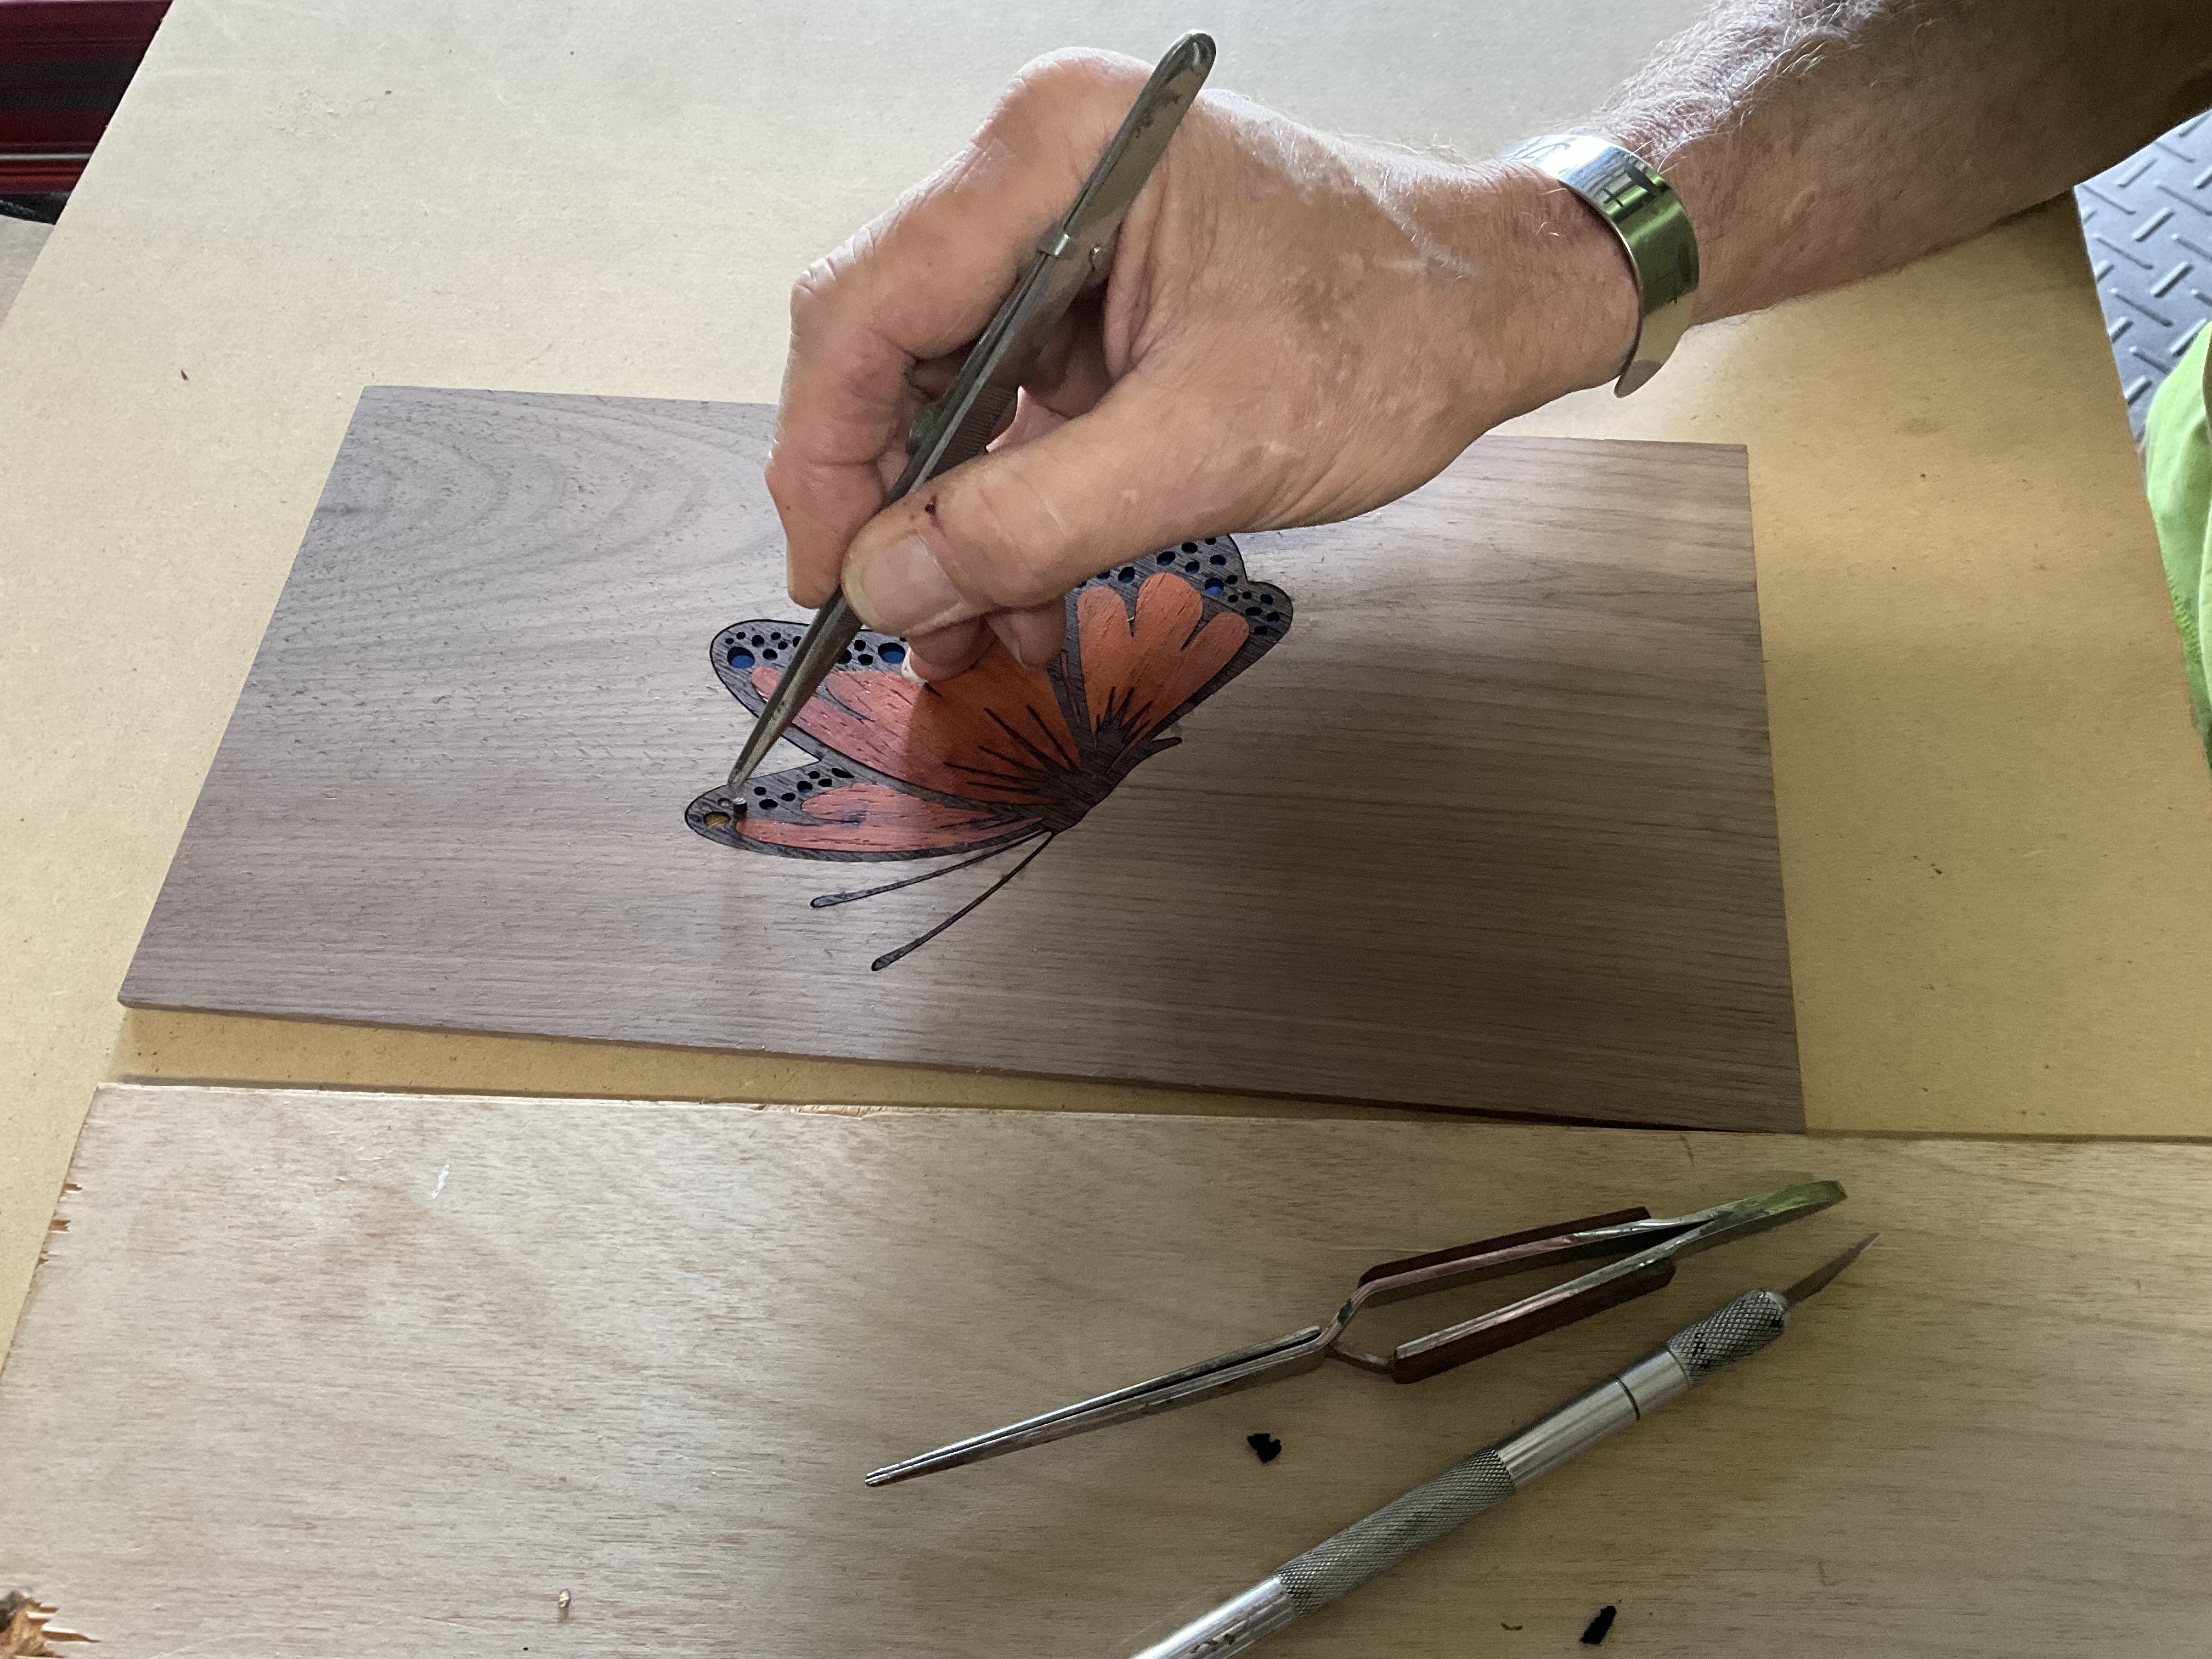
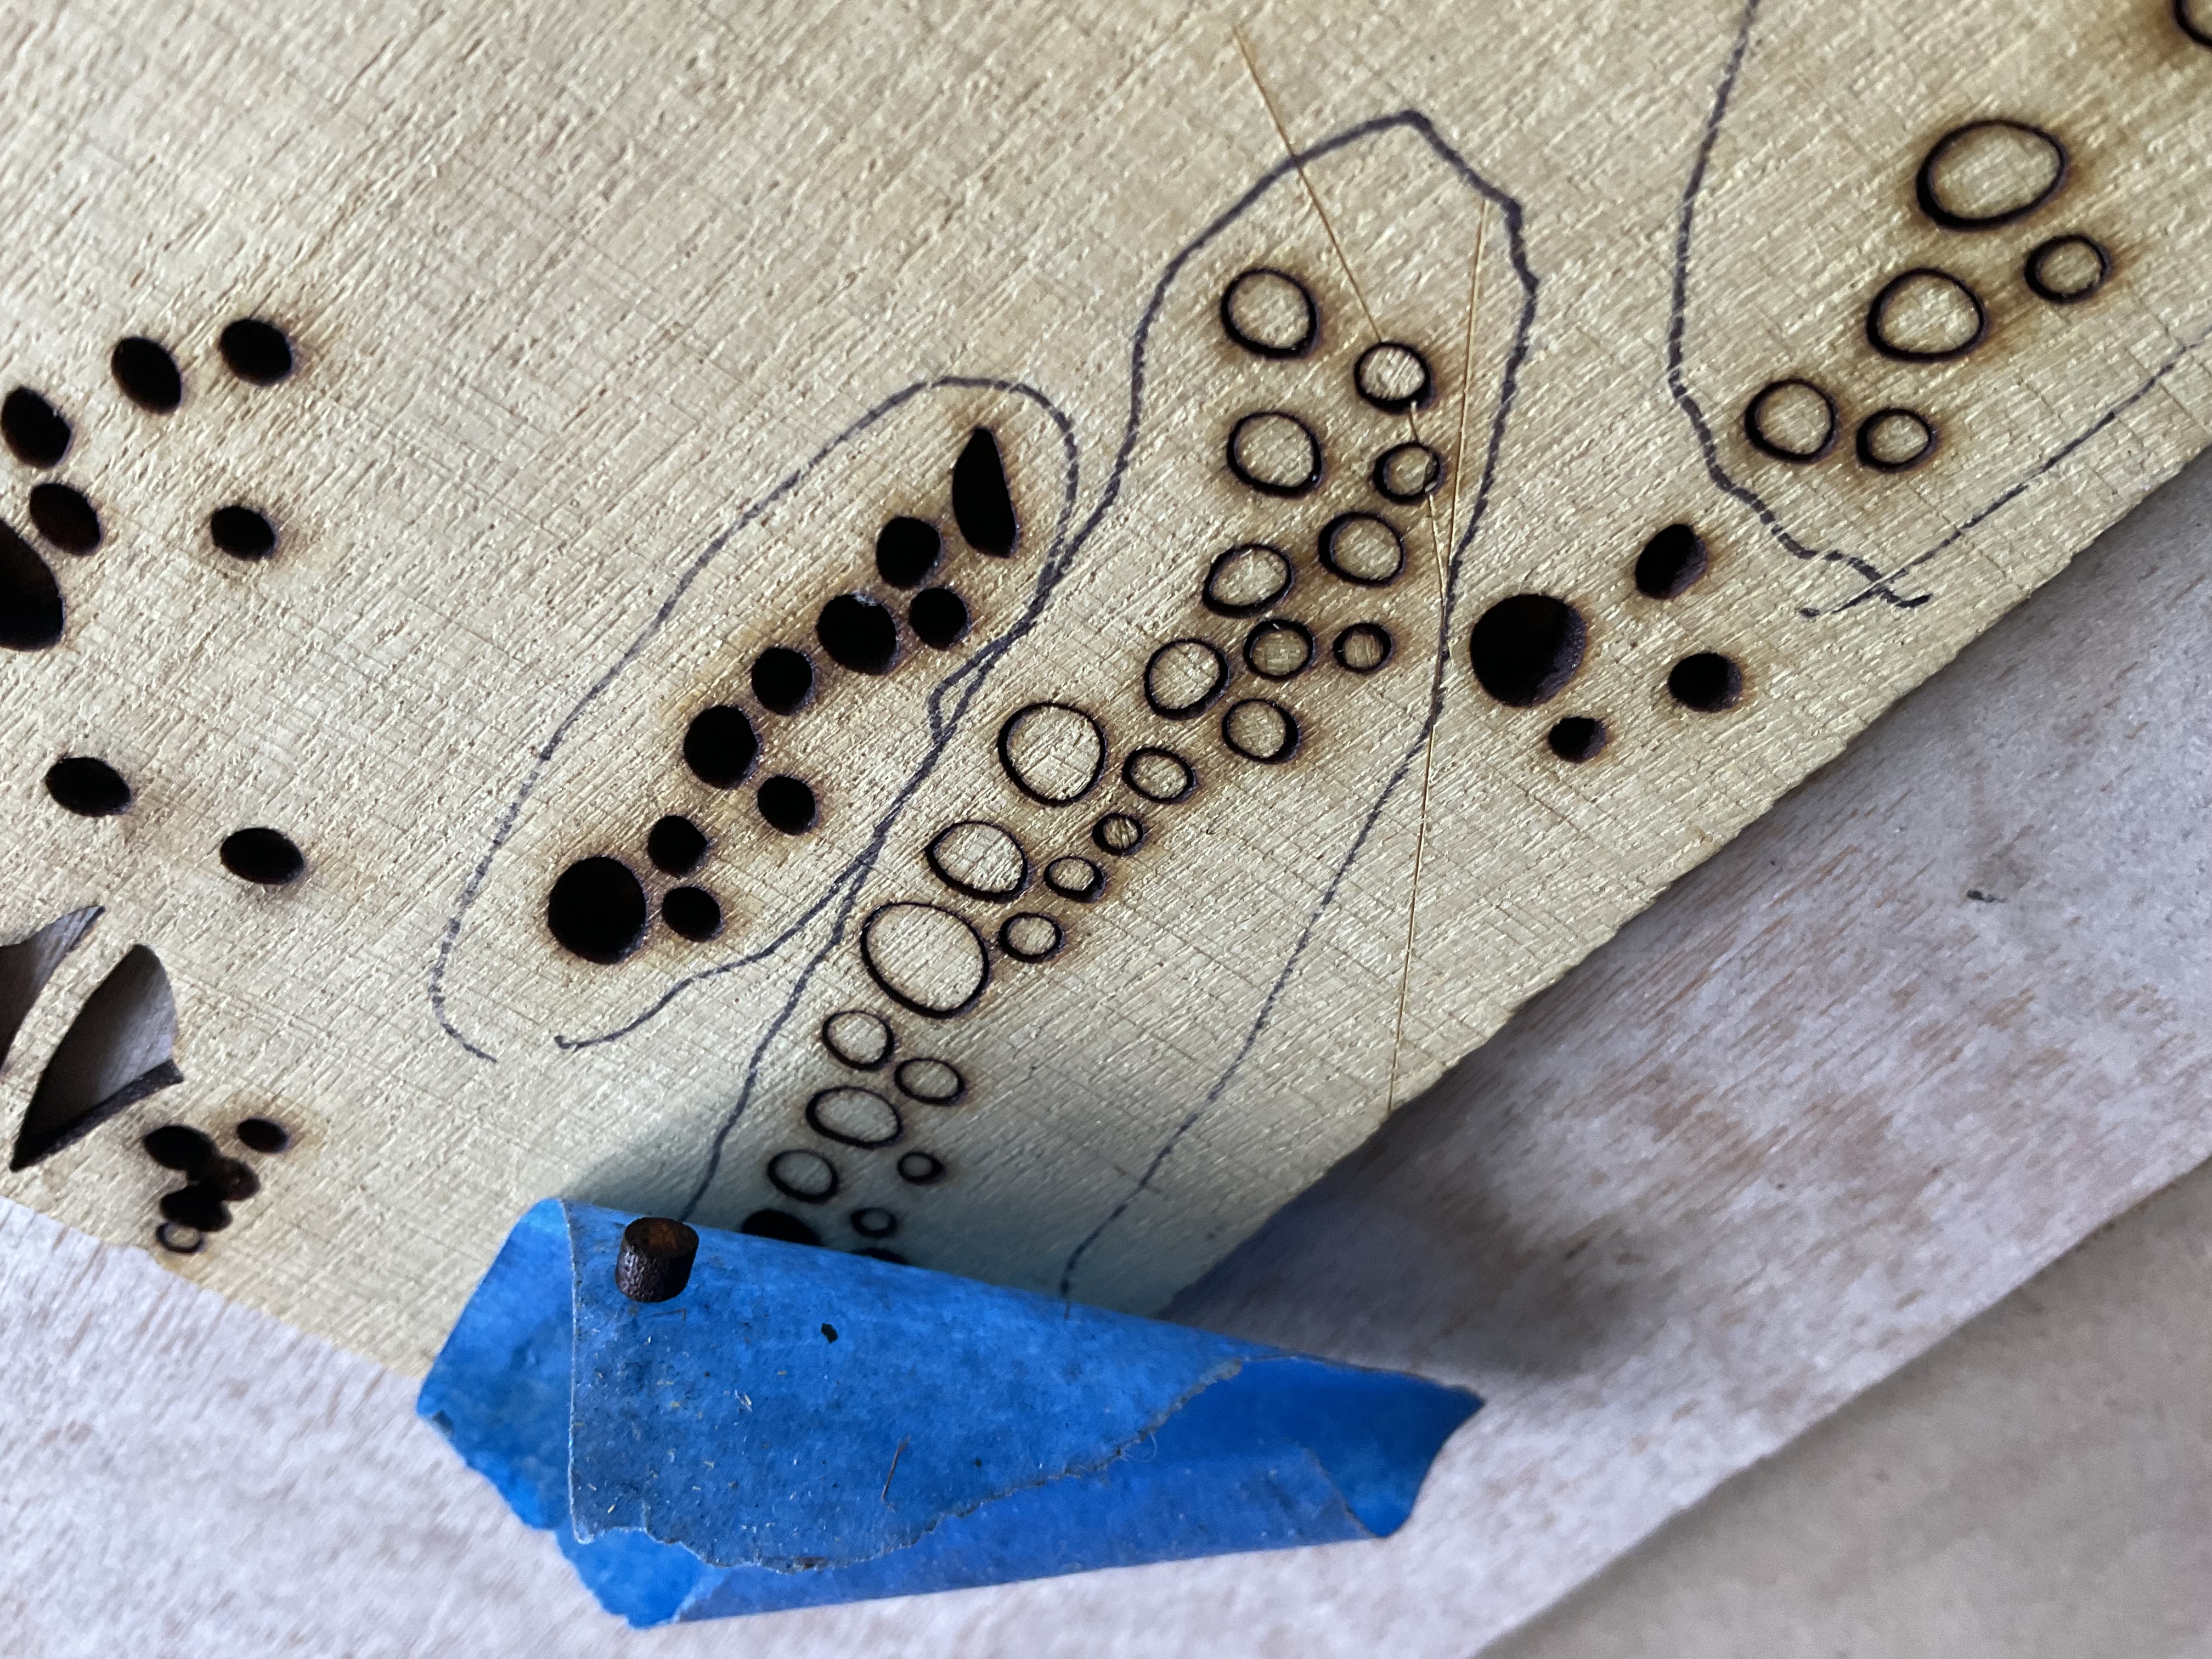
Place the smallest parts
The wing dots are the slow part. Use painter's tape to pick them up one at a time and tweezers to set them into the holes. Expect this part to take patience; on this project the dots took roughly 45 minutes.
Step 6
Fill, glue, and clamp
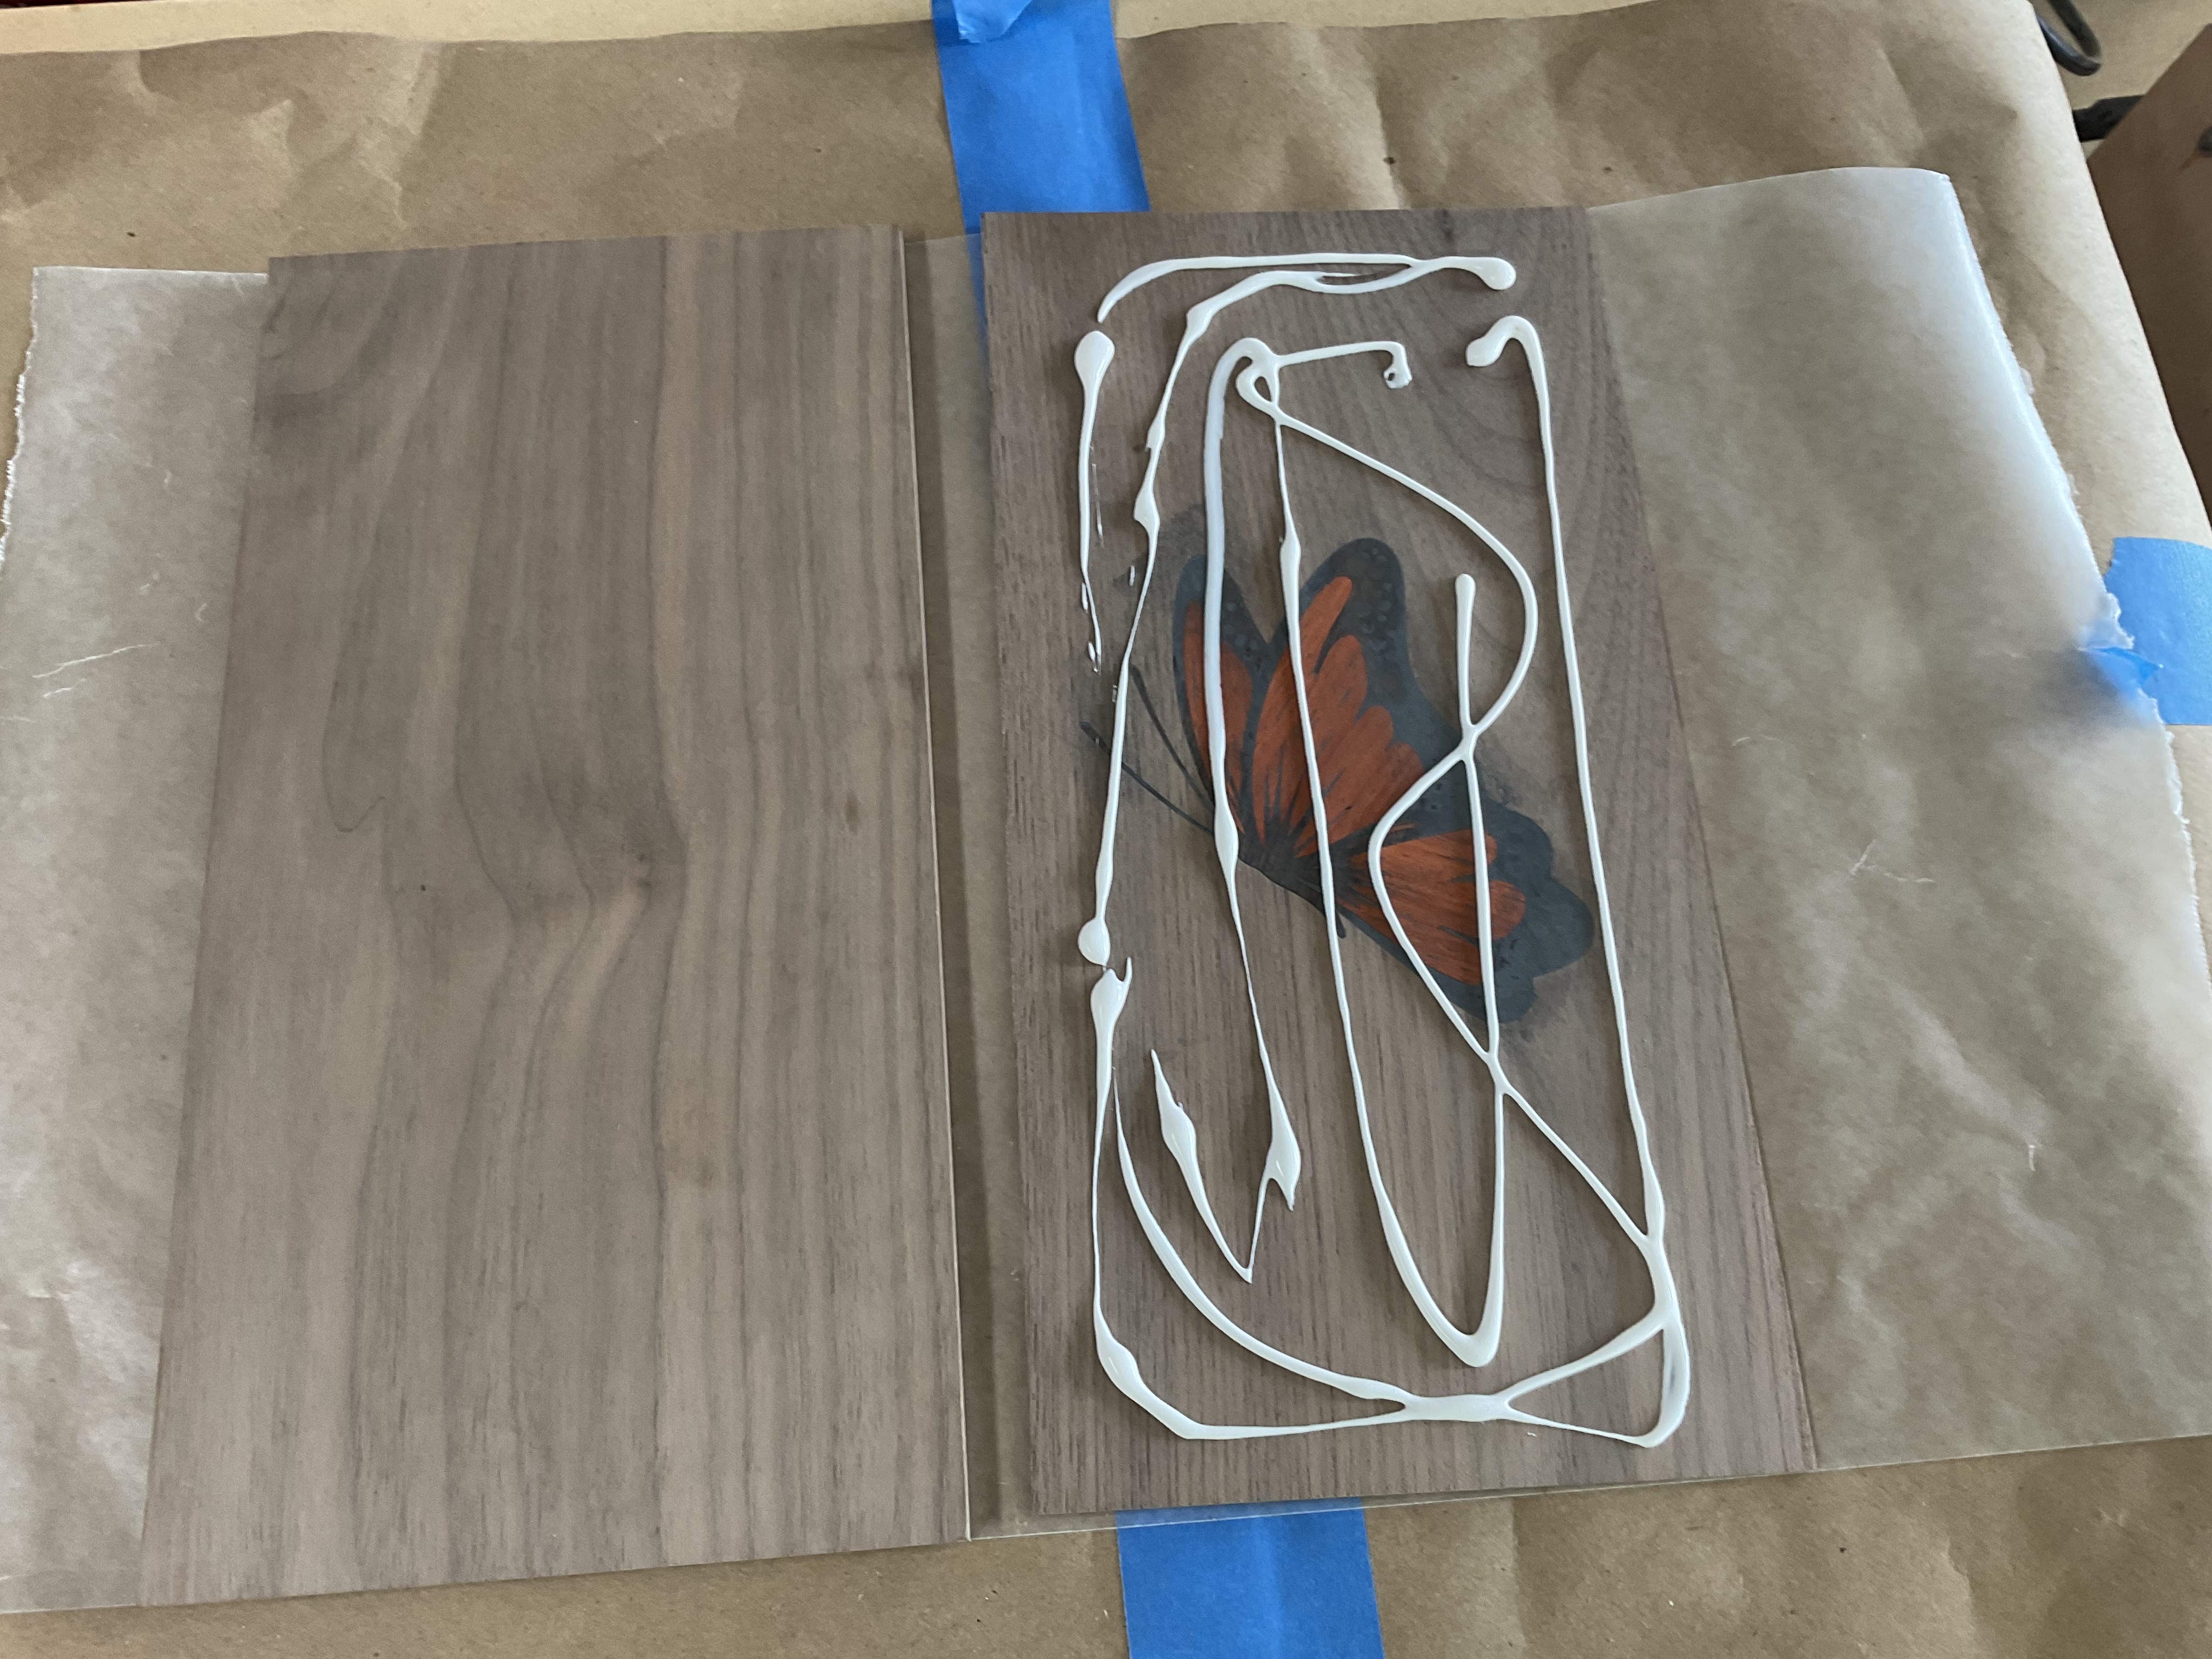
If any inlay stock is slightly thinner, fill the back side and sand it flat before glue-up. Then spread glue evenly, align the inlay with the 3/8 inch walnut backer, and clamp the sandwich between flat boards for even pressure.
Step 7
Reveal, sand, and finish
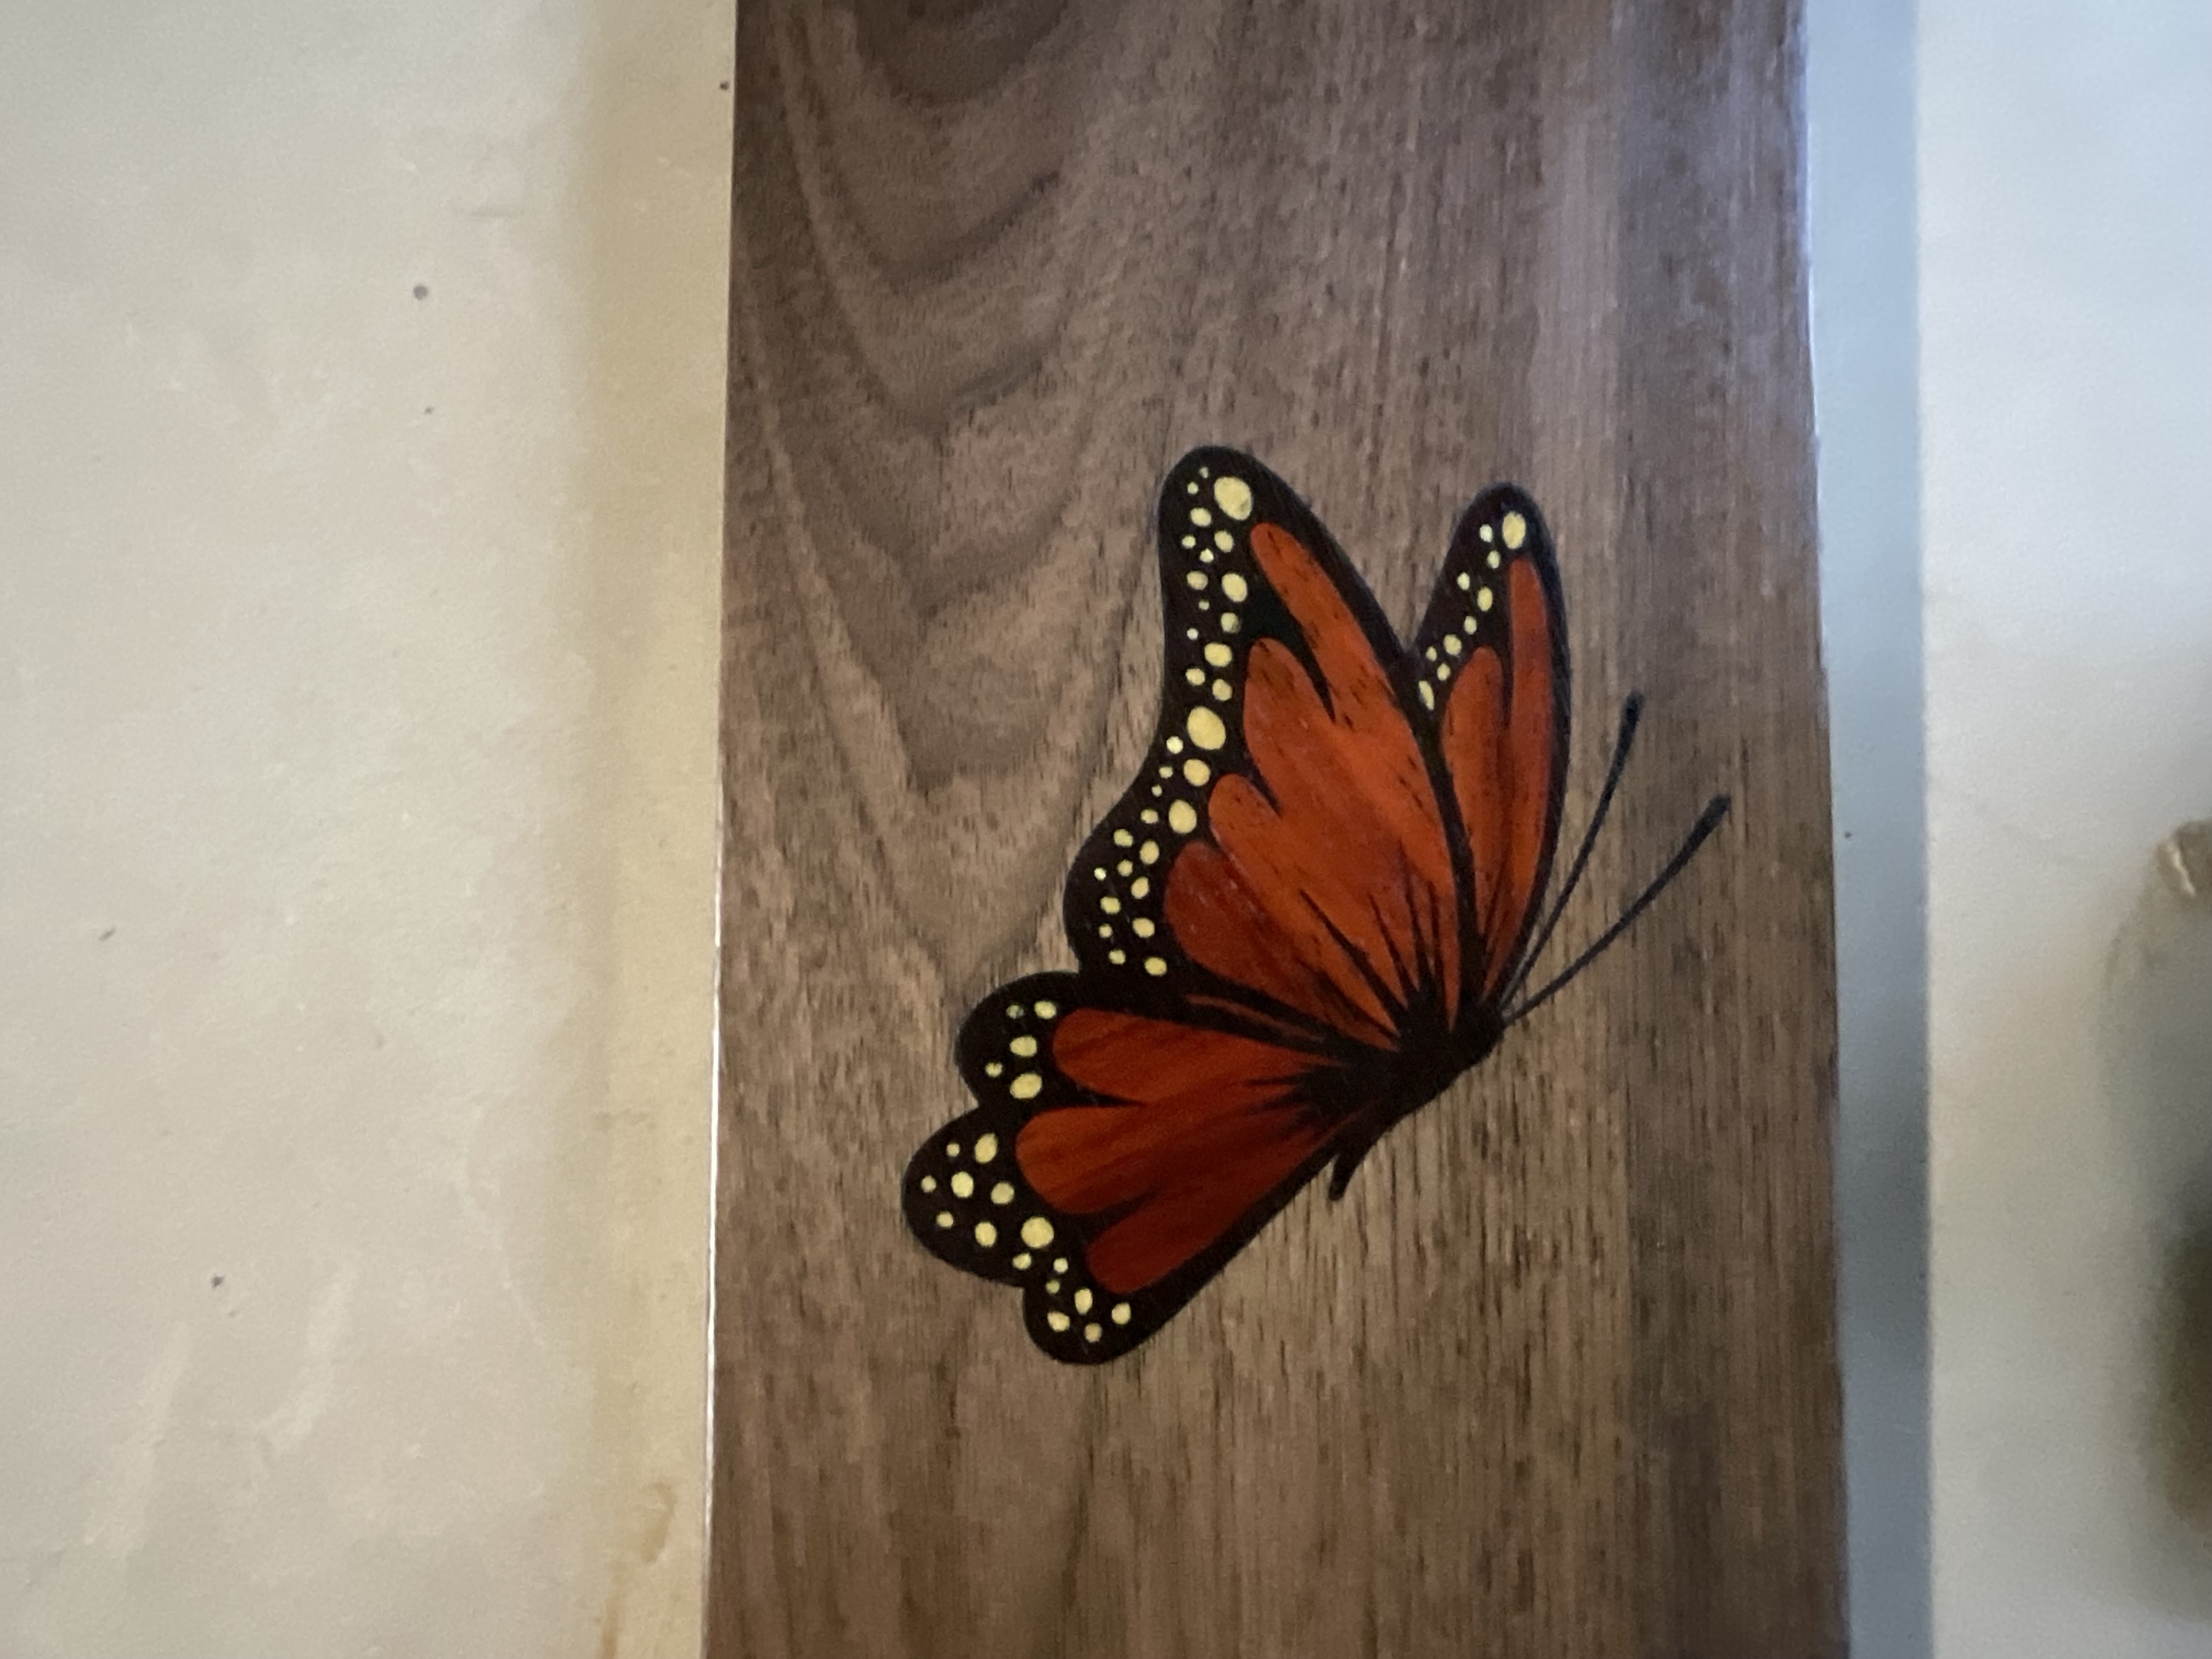
Peel off the tape for the first look at the finished pattern. A thin coat of ebony filler pressed into any fine gaps can tighten the surface. Sand through 120, 180, and 220 grit, then apply Danish oil or another oil finish.
Shop Note
Test cuts are worth the wood they save.
Hardwood density varies from board to board. On this project, black walnut and yellow heart cut in one pass at about 10 mm/sec, while padauk and wenge cut better at about 7 mm/sec. Use those as starting points only. A small test cut is cheaper than wasting exotic hardwood.